


What does a safety removal do exactly? Well, it means you'll be able to fire the blaster without the clip in place or the jam door closed. Why would we want to do that? Honestly, most people don't. The safeties are useful in that you can't accidentally dry fire the blaster, and you can't get your finger stuck in the breech by firing with the door open and your fingers where they shouldn't be. The problem lies in that if you don't have the clip completely 100% aligned, the blaster won't fire. Same deal if the jam door is even slightly askew. Having the blaster not fire when you're expecting it to is the kind of thing that can cause you serious problems mid-game. I understand the extra risks involved here but I'm a big boy; I know not to stick my fingers and the breech and pull the trigger and I know not to dry fire. I'm willing to accept those added concerns to loose the potential of one of the safeties going rouge and having the blaster not working in the split second where I really need it to. Assuming you feel the same way, please, read on.
________________________________________________________________________
Tools/Materials required...
Phillips head screwdriver
Pliers
Soldering iron + solder
________________________________________________________________________
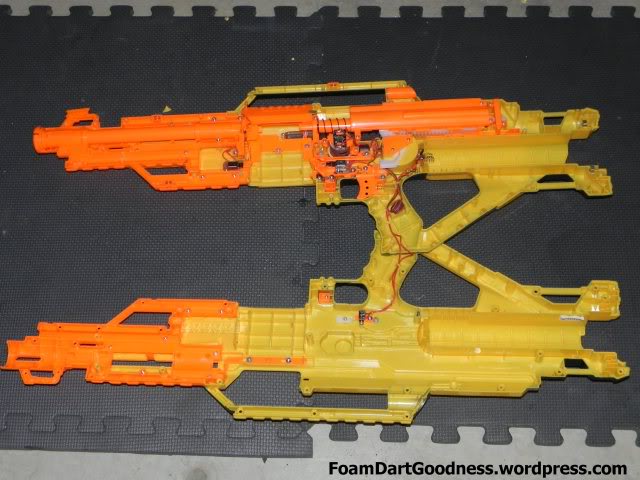
As always, we'll kick off with the blaster in question.

Remove the battery tray, then what seems like an endless supply of screws holding the shell together.
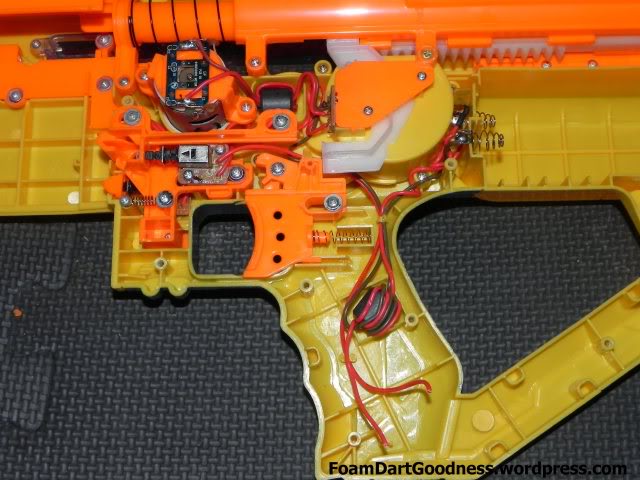
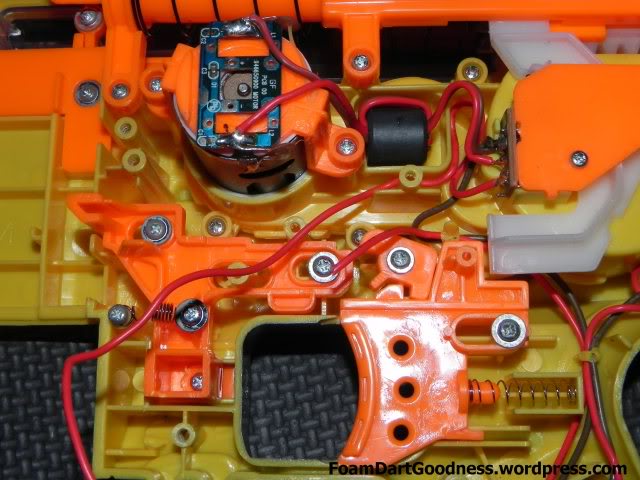
Take a good look at the internals, understand how they work.
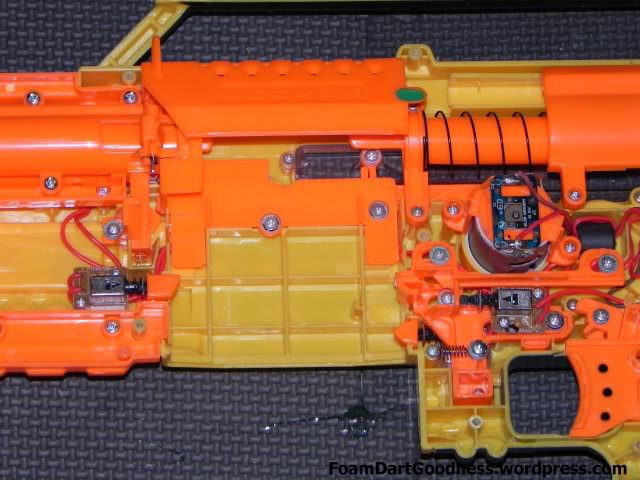
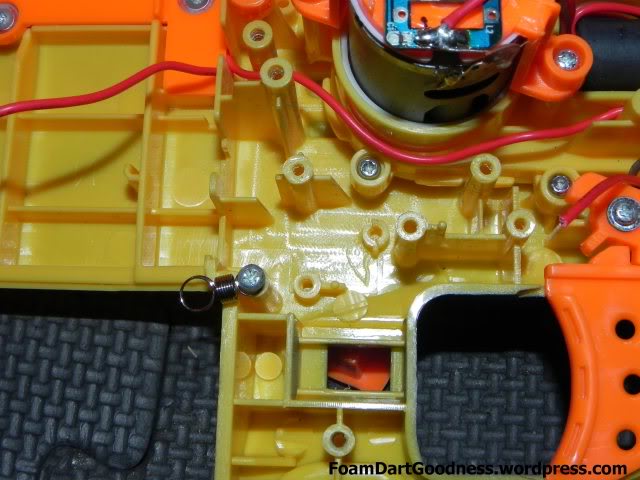
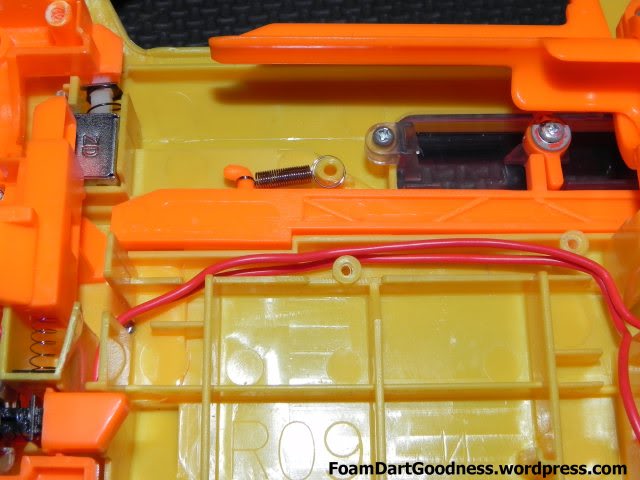
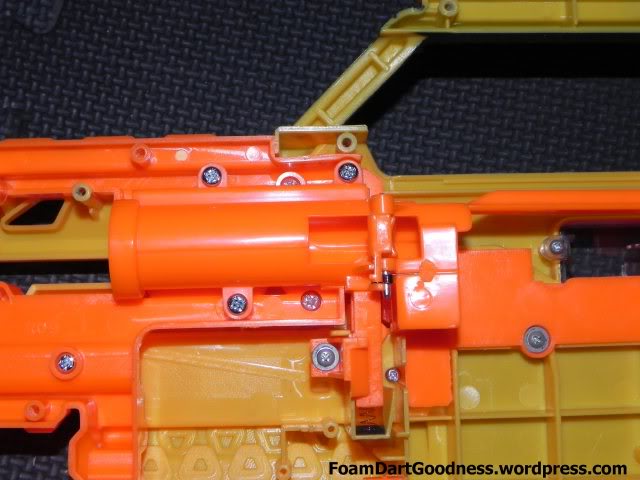
You can see here one of the micro-switches that acts as a safety here. This one in particular is one of the three that checks to see if there's a clip in the blaster.
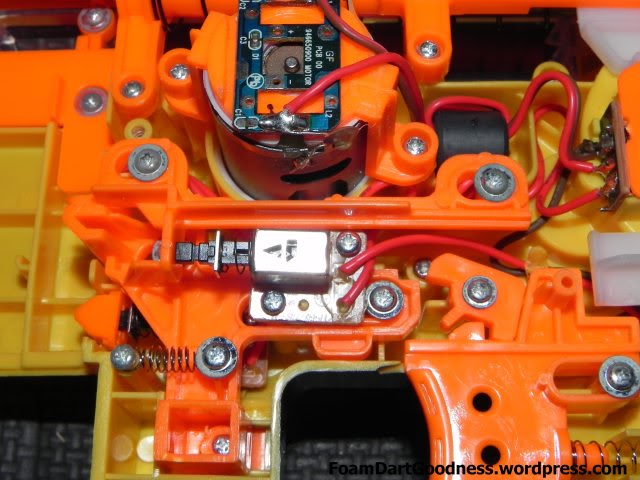
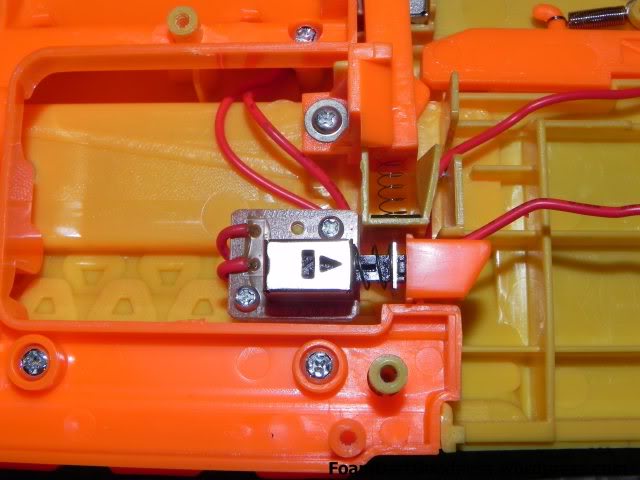
There's another one on the opposite side of the clip well.

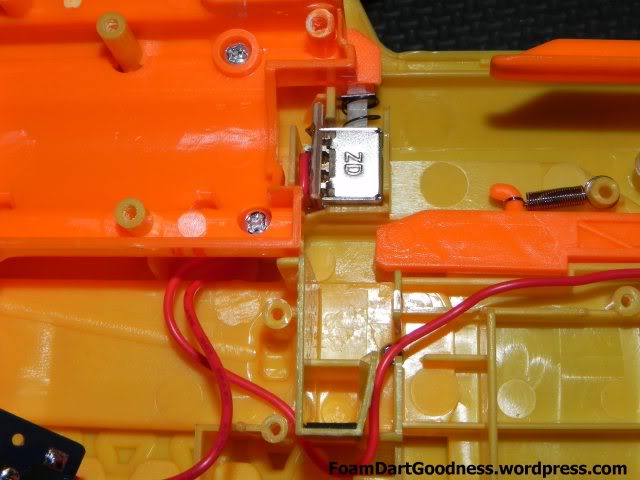
And the third hides under the first one we looked at.

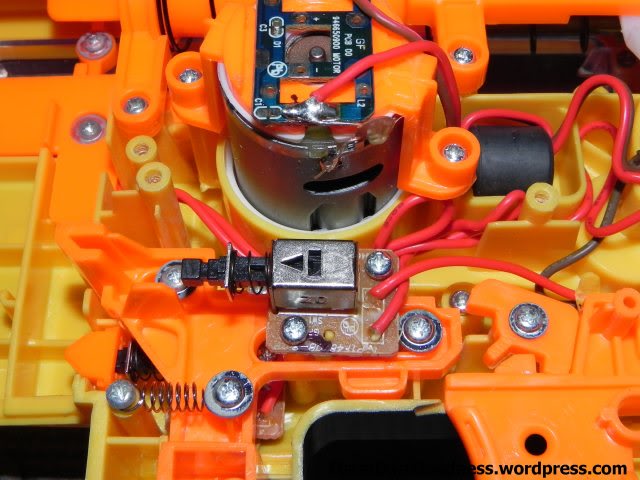
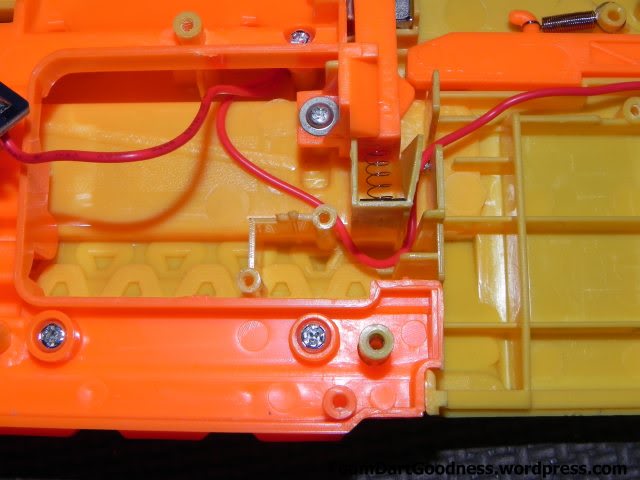
You can't really see this one, but there's another micro-switch under here that checks to see if the jam door is closed.

I hadn't mentioned this above but I also decided to remove the power switch on this blaster too. Again, I didn't want to accidentally knock it mid-game and turn the blaster off.

Simply cut the wires to the switch.
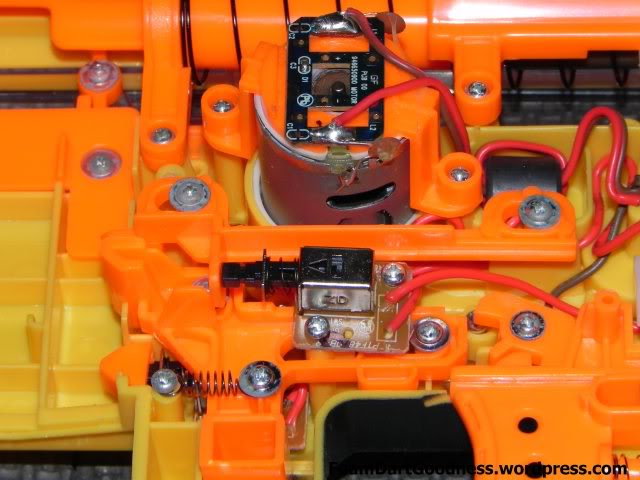
Ok, time to starts on the micro-switches!
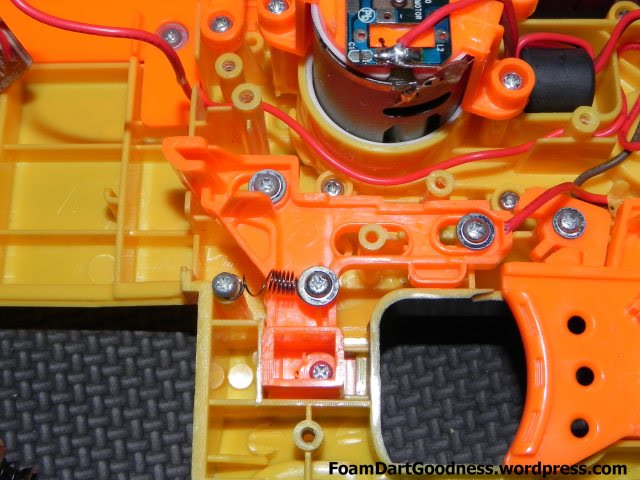
First up, remove the two screws holding this bar immediately above the micro-switch here.
Allowing us to then remove said bar.
The remove the two screws holding the switch itself in.

Cut the wires to it so you can move it to one side, then remove the three screws holding the now exposed clip release catch. Then remove said catch. The clip release button will fall off at this stage, don't lose it.
Next, remove the two screws holding the next micro-switch in.

Then remove the switch itself.
Replace the clip release button and catch.
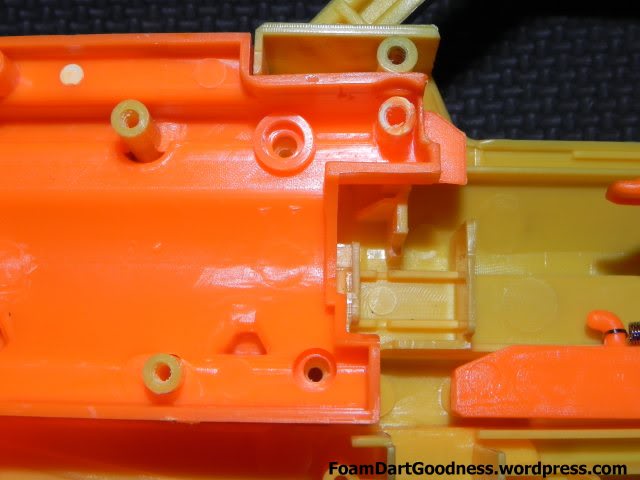
Now move to the left side of the clip well and remove the front part of the breech.
Like so.

We can now see the jam door micro-switch hiding under here.
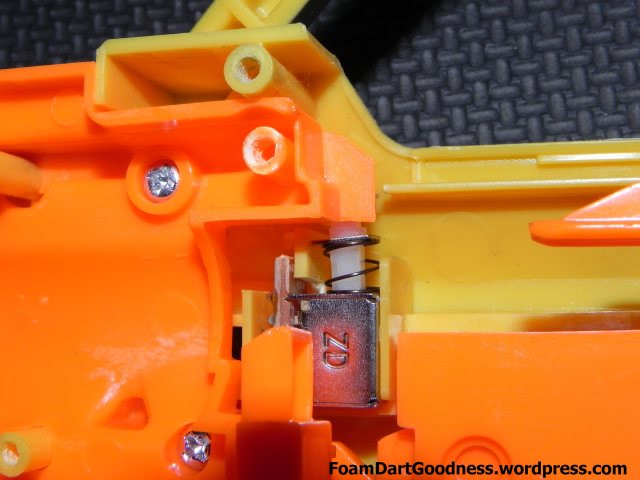
Remove the two screws holding this cover plate in.

And the cover plate itself. We now have access to the wires for the safeties.
Two screws, micro-switch, yada yada yada.
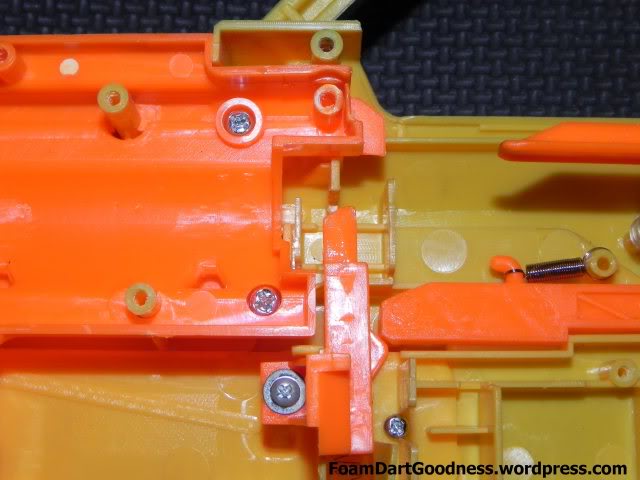
Push it to one side, then remove the screw holding the dart tooth in.
The remove the dart tooth and the two screws visible here.
With the screws removed you can pry this piece up just enough to remove the jam door switch. At this stage we'll also need to pull both switches and their associated wiring over to the other side of the clip well.
Replace the dart tooth.
Then the cover plate.
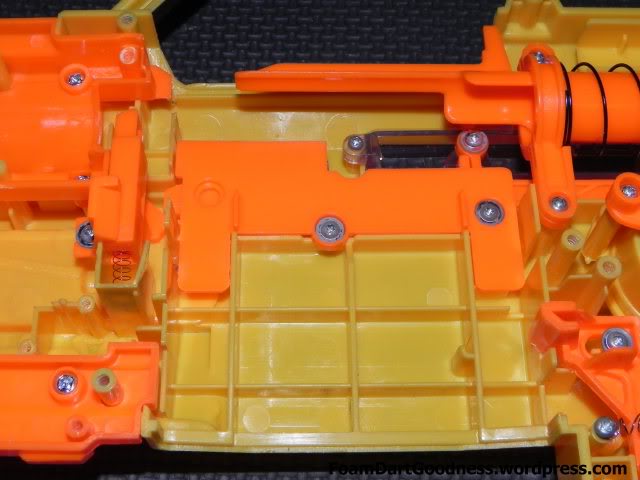
Then the front part of the breech.
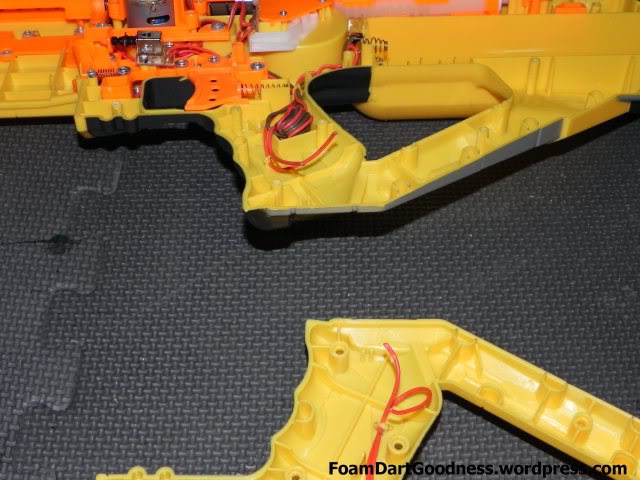
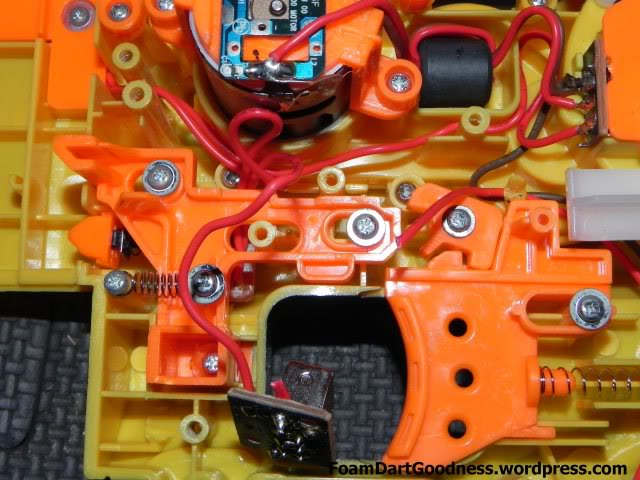
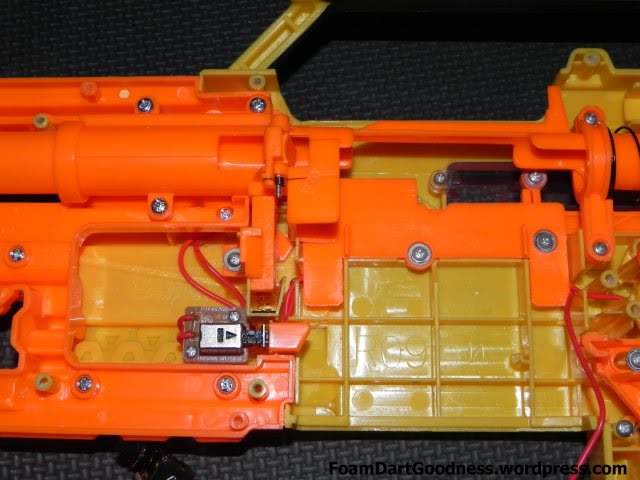
We should now have a nice series of four micro-switches no longer in the blaster. Trace the wire back to the trigger switch.
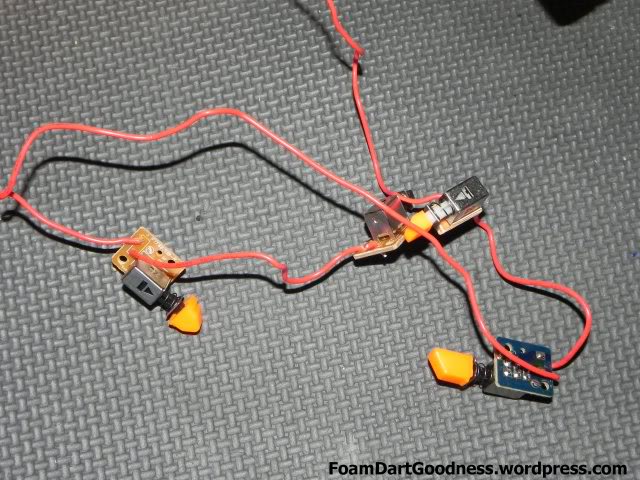
It should be the one shown here on the left.
Cut it with enough length to reach the on/off switch wiring we cut earlier.

Strip some of the shielding back.

Twist together.
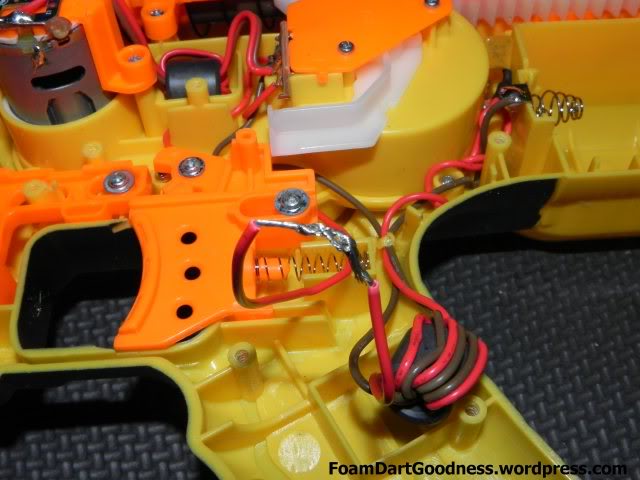
Then solder. (also tape but no pictures of said tape /sadface)

Put the shell back together and we're done! You now have one unsafe blaster... teehee...
________________________________________________________________________
Tools/Materials required...
Phillips head screwdriver
Pliers
Soldering iron + solder
________________________________________________________________________
As always, we'll kick off with the blaster in question.
Remove the battery tray, then what seems like an endless supply of screws holding the shell together.
Take a good look at the internals, understand how they work.
You can see here one of the micro-switches that acts as a safety here. This one in particular is one of the three that checks to see if there's a clip in the blaster.
There's another one on the opposite side of the clip well.
And the third hides under the first one we looked at.
You can't really see this one, but there's another micro-switch under here that checks to see if the jam door is closed.
I hadn't mentioned this above but I also decided to remove the power switch on this blaster too. Again, I didn't want to accidentally knock it mid-game and turn the blaster off.
Simply cut the wires to the switch.
Ok, time to starts on the micro-switches!
First up, remove the two screws holding this bar immediately above the micro-switch here.
Allowing us to then remove said bar.
The remove the two screws holding the switch itself in.
Cut the wires to it so you can move it to one side, then remove the three screws holding the now exposed clip release catch. Then remove said catch. The clip release button will fall off at this stage, don't lose it.
Next, remove the two screws holding the next micro-switch in.
Then remove the switch itself.
Replace the clip release button and catch.
Now move to the left side of the clip well and remove the front part of the breech.
Like so.
We can now see the jam door micro-switch hiding under here.
Remove the two screws holding this cover plate in.
And the cover plate itself. We now have access to the wires for the safeties.
Two screws, micro-switch, yada yada yada.
Push it to one side, then remove the screw holding the dart tooth in.
The remove the dart tooth and the two screws visible here.
With the screws removed you can pry this piece up just enough to remove the jam door switch. At this stage we'll also need to pull both switches and their associated wiring over to the other side of the clip well.
Replace the dart tooth.
Then the cover plate.
Then the front part of the breech.
We should now have a nice series of four micro-switches no longer in the blaster. Trace the wire back to the trigger switch.
It should be the one shown here on the left.
Cut it with enough length to reach the on/off switch wiring we cut earlier.
Strip some of the shielding back.
Twist together.
Then solder. (also tape but no pictures of said tape /sadface)
Put the shell back together and we're done! You now have one unsafe blaster... teehee...
