Merry Christmas all!
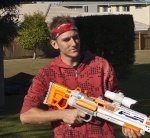
Oh well, lets try again shall we. This post form part two of my three part series on the new Nerf Hailfire over at Foam Dart Goodness. The first looked at reviewing the blaster in its stock form, this post will cover off some mods to improve it, then in the third we'll take a look at how those mods worked in game. The main issues I had with the blaster during its first test were to do with the clip advancement. Particularly when loaded with heavier clips, say 18's, the rotator sometimes simply wouldn't advance. I'm really not a fan of things not working they way they should so this had to be rectified. The solution for this came from our friends over at S.O.F.T (for which you can check out their original video on the subject here. While we're fixing the clip advancer, we'll also up the voltage to increase range and make it easier to reload on the fly.
Enough talking about it, let's get to it!
_________________________________________________________________________
Tools/Consumables used
Screwdrivers
Dremel with cutting and grinding attachments
3x Trustfire batteries
1x Dummy AA
_________________________________________________________________________
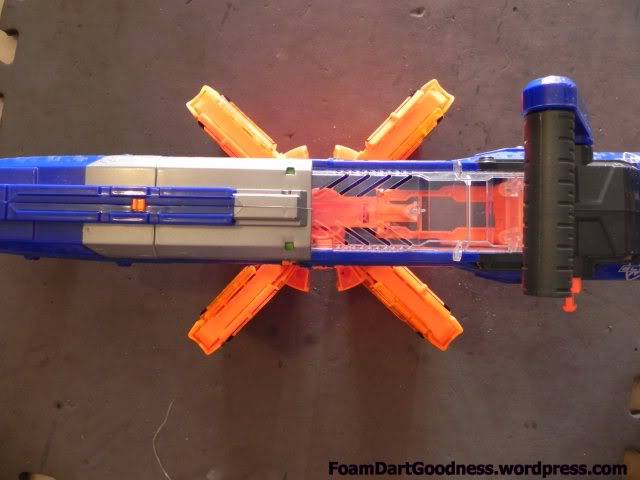
As always, we'll kick off with the blaster in question. Start by removing all of the screws from the shell. If you've still got the clip advancement handles on, there's two screws on the inside of each handle. Remove them then pry the handles free.

In the shell itself there are three different sized screws.
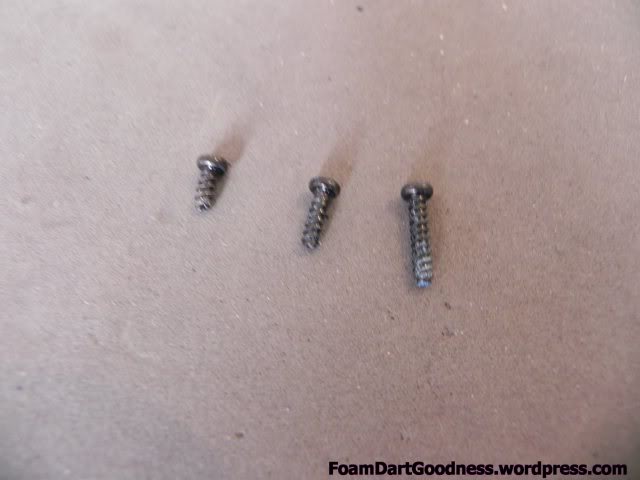
The short one came from here.
The three medium length ones came from here.

The rest are all the standard length Nerf screw.
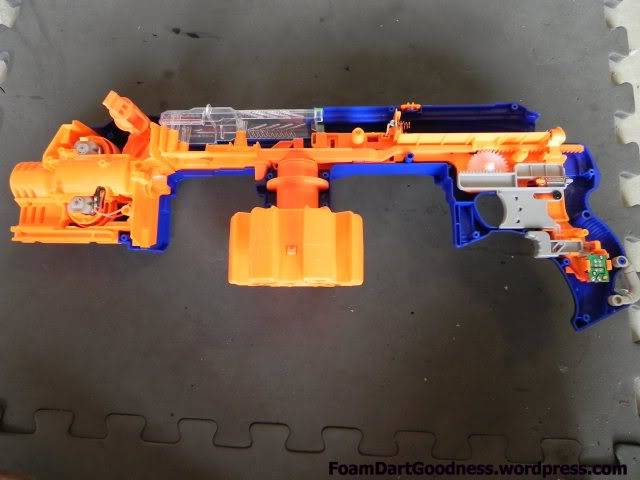
As always, take a moment at this point to have a good look around the blaster and try to get an understanding of the internals.

Happy? Good, lets continue.

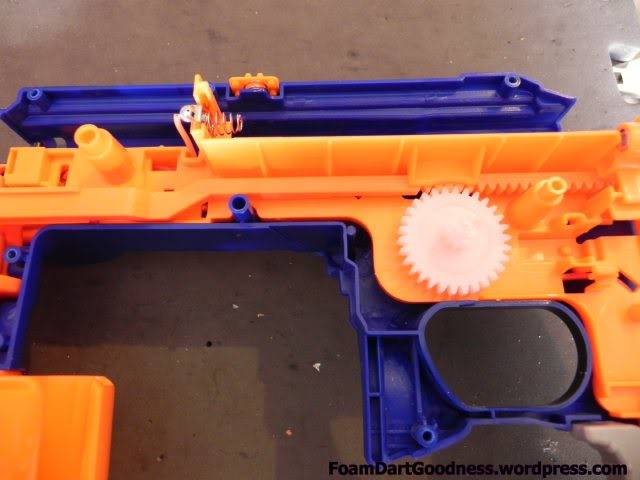
Remove the jam door.
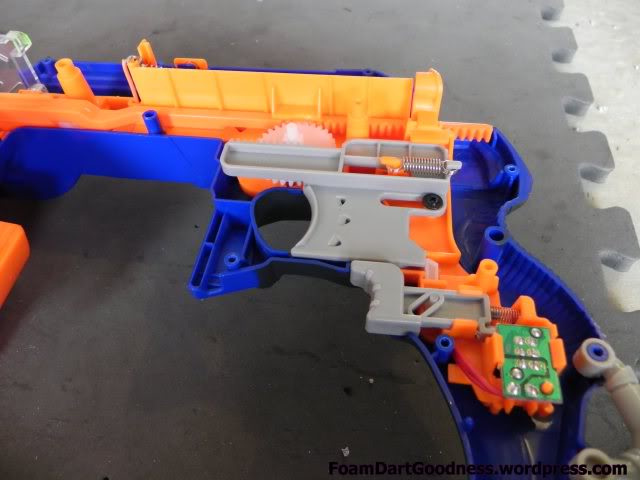
Then the trigger; it's held in by one black screw.

Then the dart pusher bar.
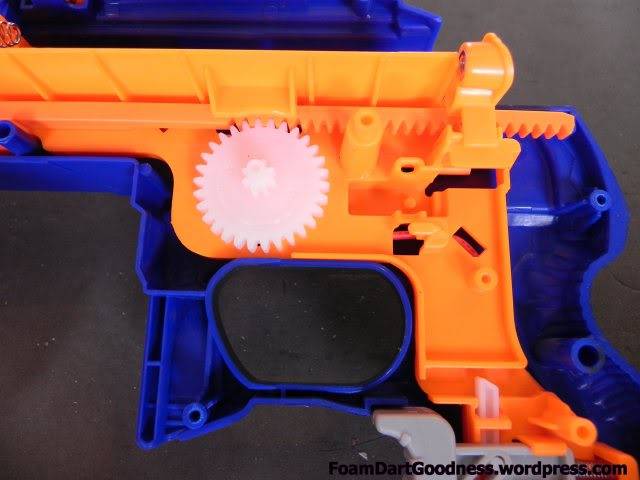
Like so.
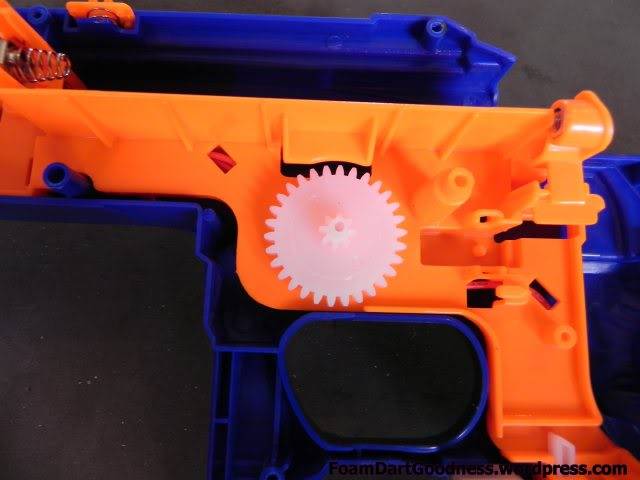
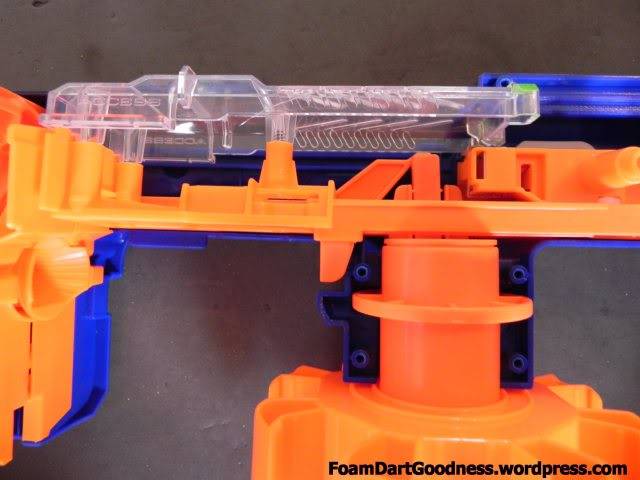
Move to the front and remove the clip advancement handle bar.

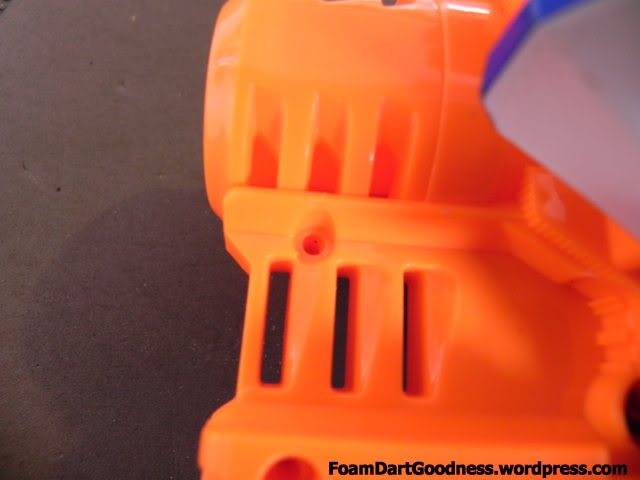
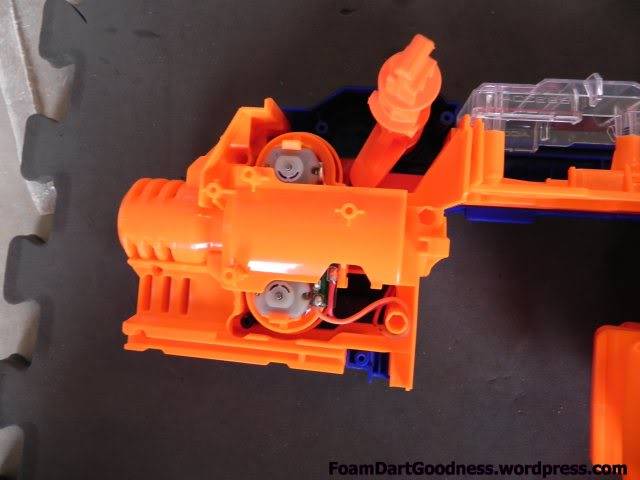
Then remove the motor assembly.
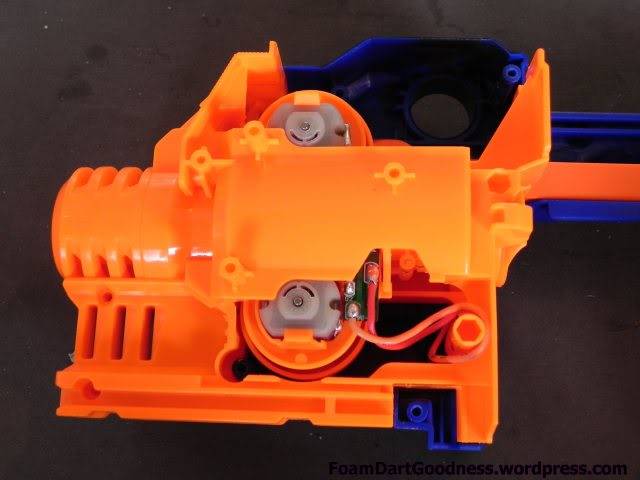
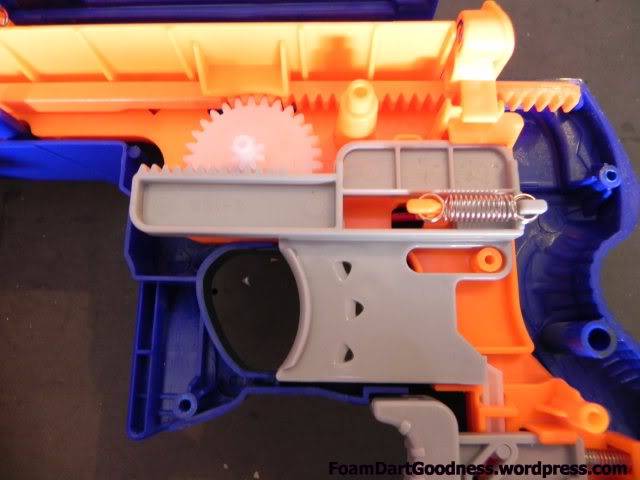
It's held in by one screw here.

You can then access this bar. Remove it and the rest of the clip advancement assembly.
Like so.

It's held together by this screw; remove it.
Right, now the real work begins.
On the bottom of the mag well there's one centre screw, remove it.

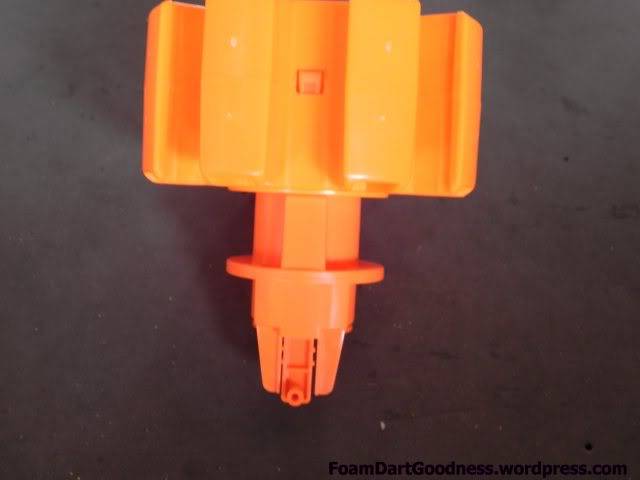
And the turret and magwell will cove free.
We'll start with the turret.
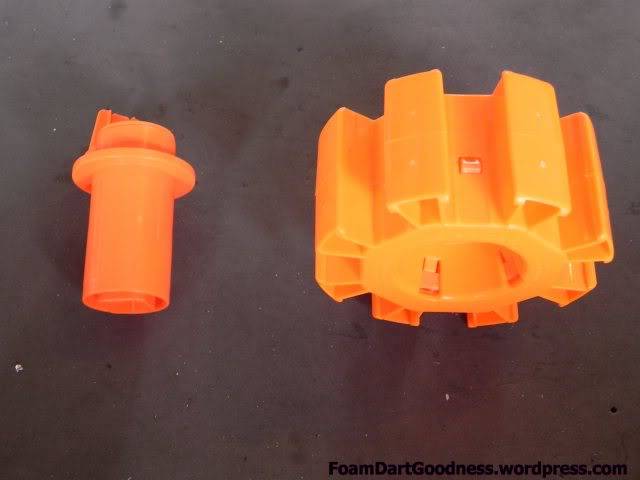
It should come apart into three pieces.
Remove the screw in the clutch assembly.
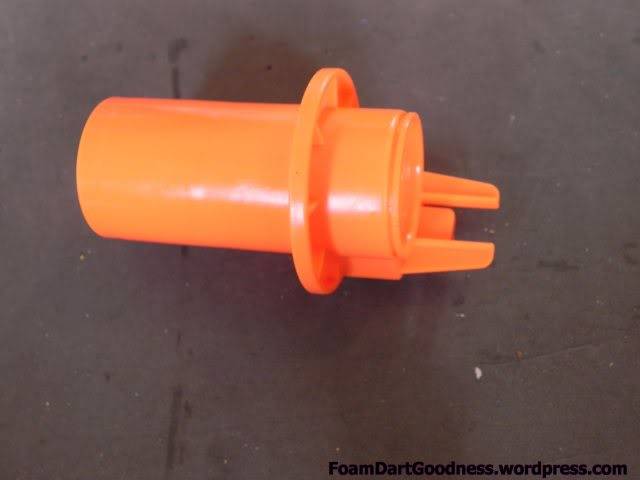
It will separate. The point of this component is to act as a slip clutch; we don't want that.

Instead we're going to glue it together. Be careful not to get any glue in the advancement track (the toothed bit in the middle here) as it might interfere with the advancement rod.

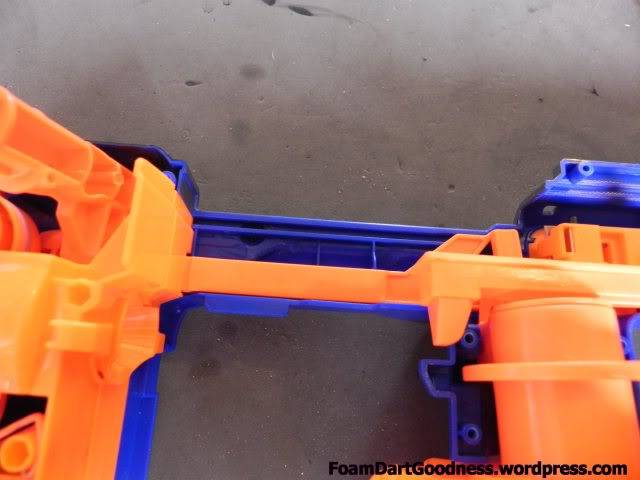
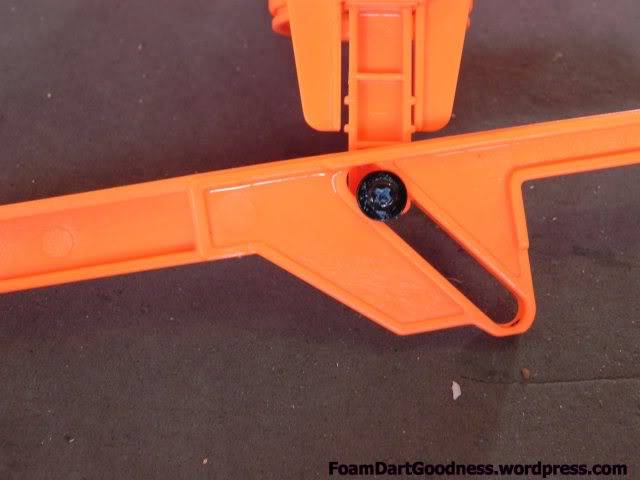
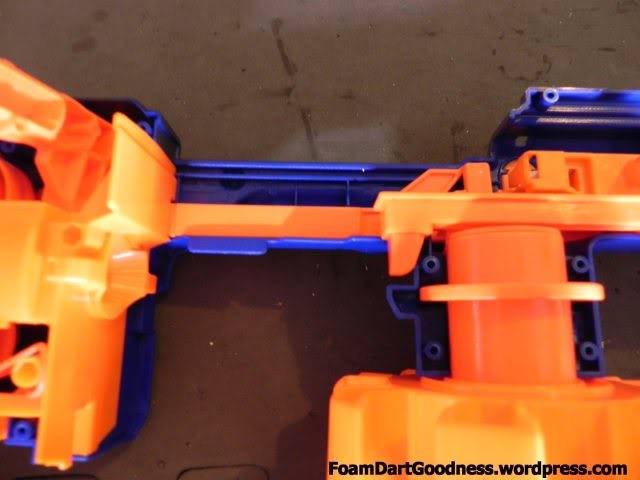
The next issue is this gap here. The bottom part of the turret is too long, which allows for unnecessary movement between the magwell and the shell; we don't want that. What we're going to do is shorten the turret so the magwell butts up hard against the shell.

We need to remove 3~4mm from the bottom of the turret but very much treat this as a trial and error game. Cut a little, reassemble, check clearances.

Reassembly goes in this order...


Once it's back together we can check clearances. The photo below shows you what we're aiming for; no more gap. Again, cut a little, reassemble, check clearances until you get this. You will not get it right on your first try.

Once you've achieved that we can actually start putting the blaster back together.

The advancement rod goes this way.

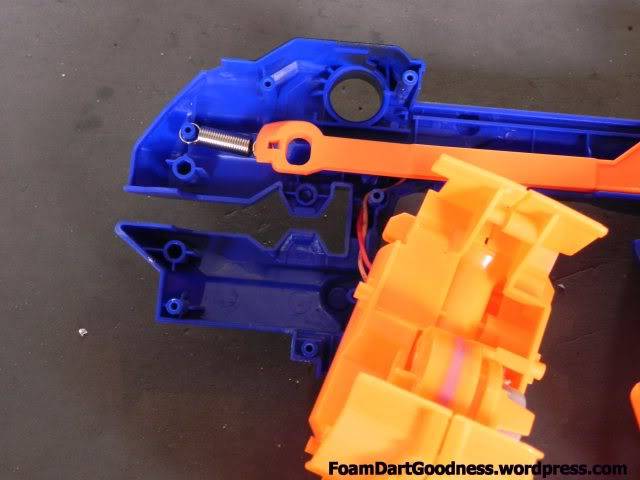
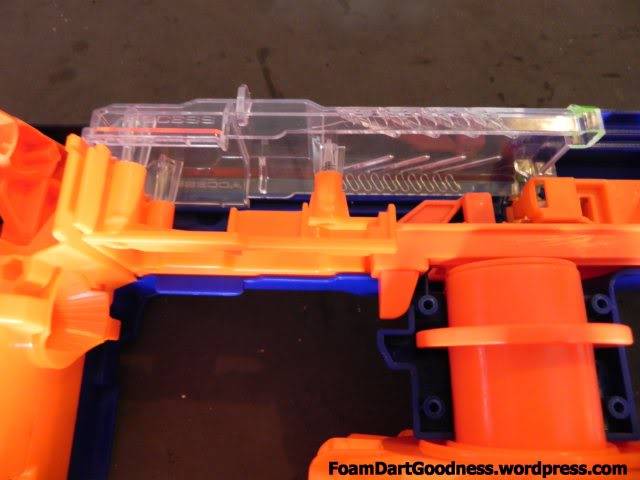
Place the whole assembly back in the blaster.

Reattach the spring.

Replace the motors and screw.

Then the priming handle.

Then the pusher bar.
Then the trigger.
Then the jam door.
Like so.
Replace the shell and we're essentially done.

To make it easier to reload on the run I also decided to ditch the wings.

Yay dremel!
Finally the voltage increase. Nothing special here, just replaced the standard AA batteries with higher voltage Trustfires. I tried combinations of 2, 3 and 4 (roughly 8, 12 and 16 volts respectively) and found that I preferred 12v. It sure does shoot further at 16v, but the accuracy is incredibly decreased.
Stock (6v): 7-8m
12v: 11-22m, most within 12-13m
16v: 15-32m, most within 19-23m
Oh well, lets try again shall we. This post form part two of my three part series on the new Nerf Hailfire over at Foam Dart Goodness. The first looked at reviewing the blaster in its stock form, this post will cover off some mods to improve it, then in the third we'll take a look at how those mods worked in game. The main issues I had with the blaster during its first test were to do with the clip advancement. Particularly when loaded with heavier clips, say 18's, the rotator sometimes simply wouldn't advance. I'm really not a fan of things not working they way they should so this had to be rectified. The solution for this came from our friends over at S.O.F.T (for which you can check out their original video on the subject here. While we're fixing the clip advancer, we'll also up the voltage to increase range and make it easier to reload on the fly.
Enough talking about it, let's get to it!
_________________________________________________________________________
Tools/Consumables used
Screwdrivers
Dremel with cutting and grinding attachments
3x Trustfire batteries
1x Dummy AA
_________________________________________________________________________
As always, we'll kick off with the blaster in question. Start by removing all of the screws from the shell. If you've still got the clip advancement handles on, there's two screws on the inside of each handle. Remove them then pry the handles free.
In the shell itself there are three different sized screws.
The short one came from here.
The three medium length ones came from here.
The rest are all the standard length Nerf screw.
As always, take a moment at this point to have a good look around the blaster and try to get an understanding of the internals.
Happy? Good, lets continue.
Remove the jam door.
Then the trigger; it's held in by one black screw.
Then the dart pusher bar.
Like so.
Move to the front and remove the clip advancement handle bar.
Then remove the motor assembly.
It's held in by one screw here.
You can then access this bar. Remove it and the rest of the clip advancement assembly.
Like so.
It's held together by this screw; remove it.
Right, now the real work begins.
On the bottom of the mag well there's one centre screw, remove it.
And the turret and magwell will cove free.
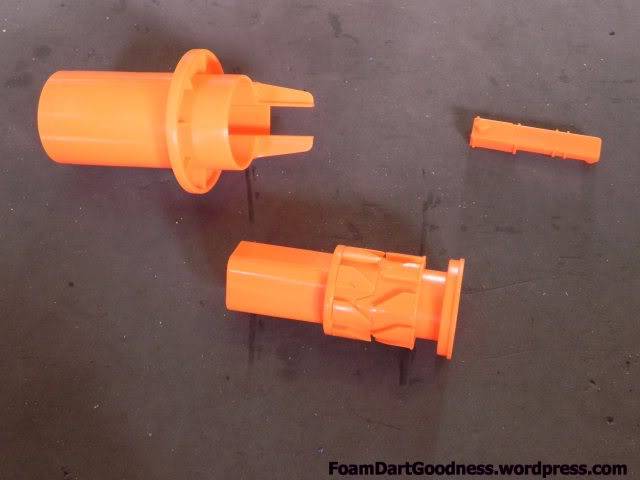
We'll start with the turret.
It should come apart into three pieces.
Remove the screw in the clutch assembly.
It will separate. The point of this component is to act as a slip clutch; we don't want that.
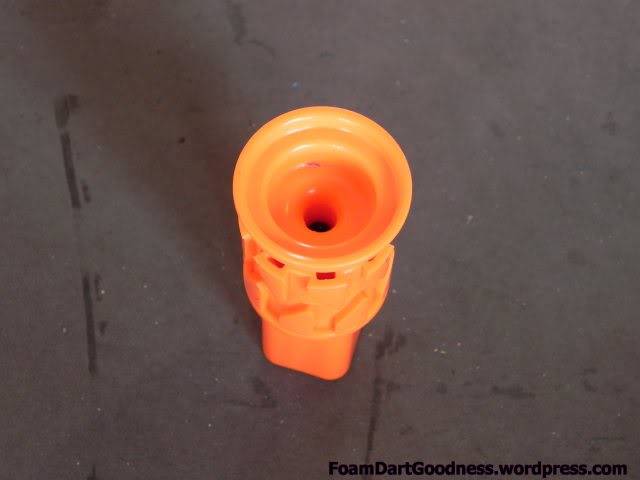
Instead we're going to glue it together. Be careful not to get any glue in the advancement track (the toothed bit in the middle here) as it might interfere with the advancement rod.
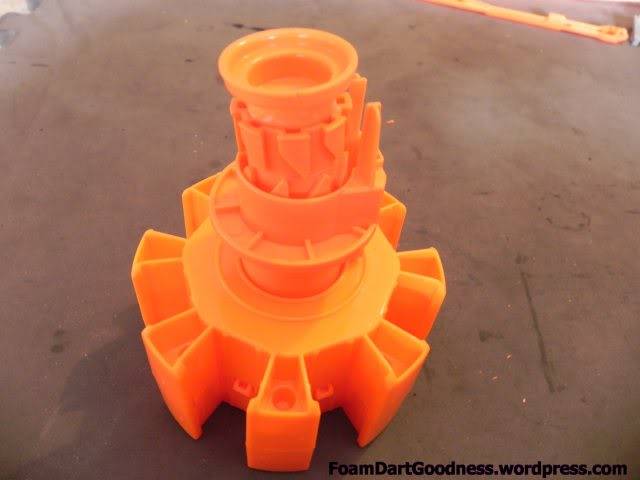
The next issue is this gap here. The bottom part of the turret is too long, which allows for unnecessary movement between the magwell and the shell; we don't want that. What we're going to do is shorten the turret so the magwell butts up hard against the shell.
We need to remove 3~4mm from the bottom of the turret but very much treat this as a trial and error game. Cut a little, reassemble, check clearances.
Reassembly goes in this order...
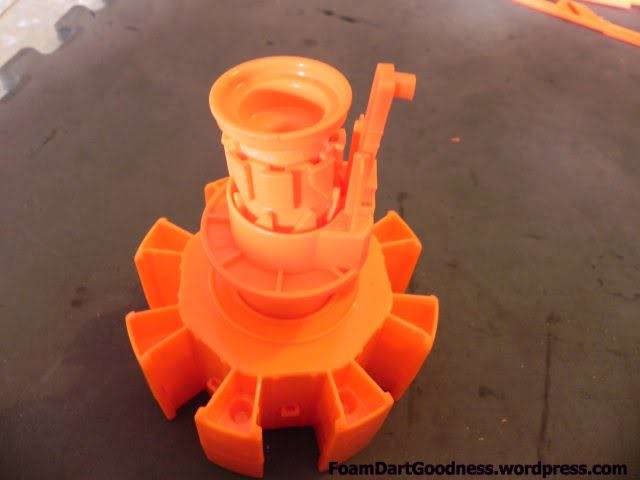
Once it's back together we can check clearances. The photo below shows you what we're aiming for; no more gap. Again, cut a little, reassemble, check clearances until you get this. You will not get it right on your first try.
Once you've achieved that we can actually start putting the blaster back together.
The advancement rod goes this way.
Place the whole assembly back in the blaster.
Reattach the spring.
Replace the motors and screw.
Then the priming handle.
Then the pusher bar.
Then the trigger.
Then the jam door.
Like so.
Replace the shell and we're essentially done.
To make it easier to reload on the run I also decided to ditch the wings.
Yay dremel!
Finally the voltage increase. Nothing special here, just replaced the standard AA batteries with higher voltage Trustfires. I tried combinations of 2, 3 and 4 (roughly 8, 12 and 16 volts respectively) and found that I preferred 12v. It sure does shoot further at 16v, but the accuracy is incredibly decreased.
Stock (6v): 7-8m
12v: 11-22m, most within 12-13m
16v: 15-32m, most within 19-23m